


Once limited to a few college classrooms equipped with dedicated audio and visual equipment, lecture recording technologies have evolved to let instructors record course-related videos just about anywhere.
Today, many auditoriums and classrooms on college campuses are set up to simplify lecture capture. Nearly all of the audio and visual equipment in these spaces can be preset for easy, one-touch (or even zero-touch) lecture recording, enabling teachers to just walk in, press record, and start teaching.
Lectures and other online course content are frequently recorded outside of the classroom, too. In most cases, all a teacher needs to record online course materials outside of the classroom is lecture capture software and a laptop with a built-in webcam and microphone or a mobile device. This is one of the best ways to record class lectures.
While the lecture capture setup outside of a classroom can also be quite simple with select software and apps, there are a few tricks of the trade that can improve the quality of your recordings.
Why Record Lessons and Classes?
Recording lessons and classes provides students with on-demand access to important course materials, helping them review complex topics at their own pace. Whether teaching in-person, online, or in a hybrid setting, educators can record classes to create a flexible learning experience that benefits students in multiple ways:
- Improved Retention – Students can rewatch recorded lessons to reinforce key concepts.
- Increased Accessibility – Recorded classes with captions or translations support diverse learning needs.
- Better Engagement – Video-based learning allows students to pause, rewind, and take notes at their own speed.
- Efficient Teaching – Instructors can reuse recorded lessons across multiple semesters or share with different class sections.
By recording a lesson, educators can extend learning beyond the classroom and provide students with valuable educational resources that they can revisit anytime.
Best Practices for Recording Classes Effectively
To maximize the impact of your recorded classes, follow these best practices:
- Use a High-Quality Microphone – Clear audio is essential for comprehension, so consider using an external microphone to eliminate background noise.
- Engage with the Camera – If recording a video lecture, maintain eye contact with the camera to create a more engaging and personal learning experience.
- Keep Lessons Concise – Break up long lectures into shorter recorded lessons to improve retention and keep students focused.
- Use Visual Aids – Incorporate slides, whiteboards, or screen-sharing tools to enhance understanding.
- Enable Interactive Features – Platforms like Panopto allow for in-video quizzes and comments to keep students actively engaged.
Following these strategies will ensure your recorded classes remain engaging and effective for learners.
How to Record Lessons for Different Teaching Styles
Educators have different approaches to teaching, and recording lessons can be customized based on instructional methods:
- Lecture-Based Teaching – Use lecture capture software to record full-length lectures with slides and instructor video.
- Flipped Classrooms – Record short lessons explaining key concepts, allowing students to engage with material before class discussions.
- Demonstration-Based Teaching – Record video demonstrations, lab experiments, or real-world applications for subjects like science, engineering, and healthcare.
- Discussion-Based Learning – Capture classroom discussions or student presentations for later review.
Regardless of teaching style, recording a class provides an adaptable solution to enhance student learning.
6 Steps for engaging lecture recording
1. Prepare your lecture and slides for recording
Planning your lecture content and preparing slides in advance can help maximize student engagement. Structure your presentation content to help your audience retain more of the material, and prune down content in your slides by eliminating anything that duplicates what you are saying in your lecture—use your slides to enhance your key points, not repeat them. Students will be more likely to pay attention to your lecture and watch it all the way through to the end.
2. Download your lecture capture software or app
If you don’t have lecture capture software installed on your Mac or PC, you’ll need to download it. If you plan to use a tablet or smartphone to record digital course material, be sure to download the mobile app, provided your lecture capture software has one.
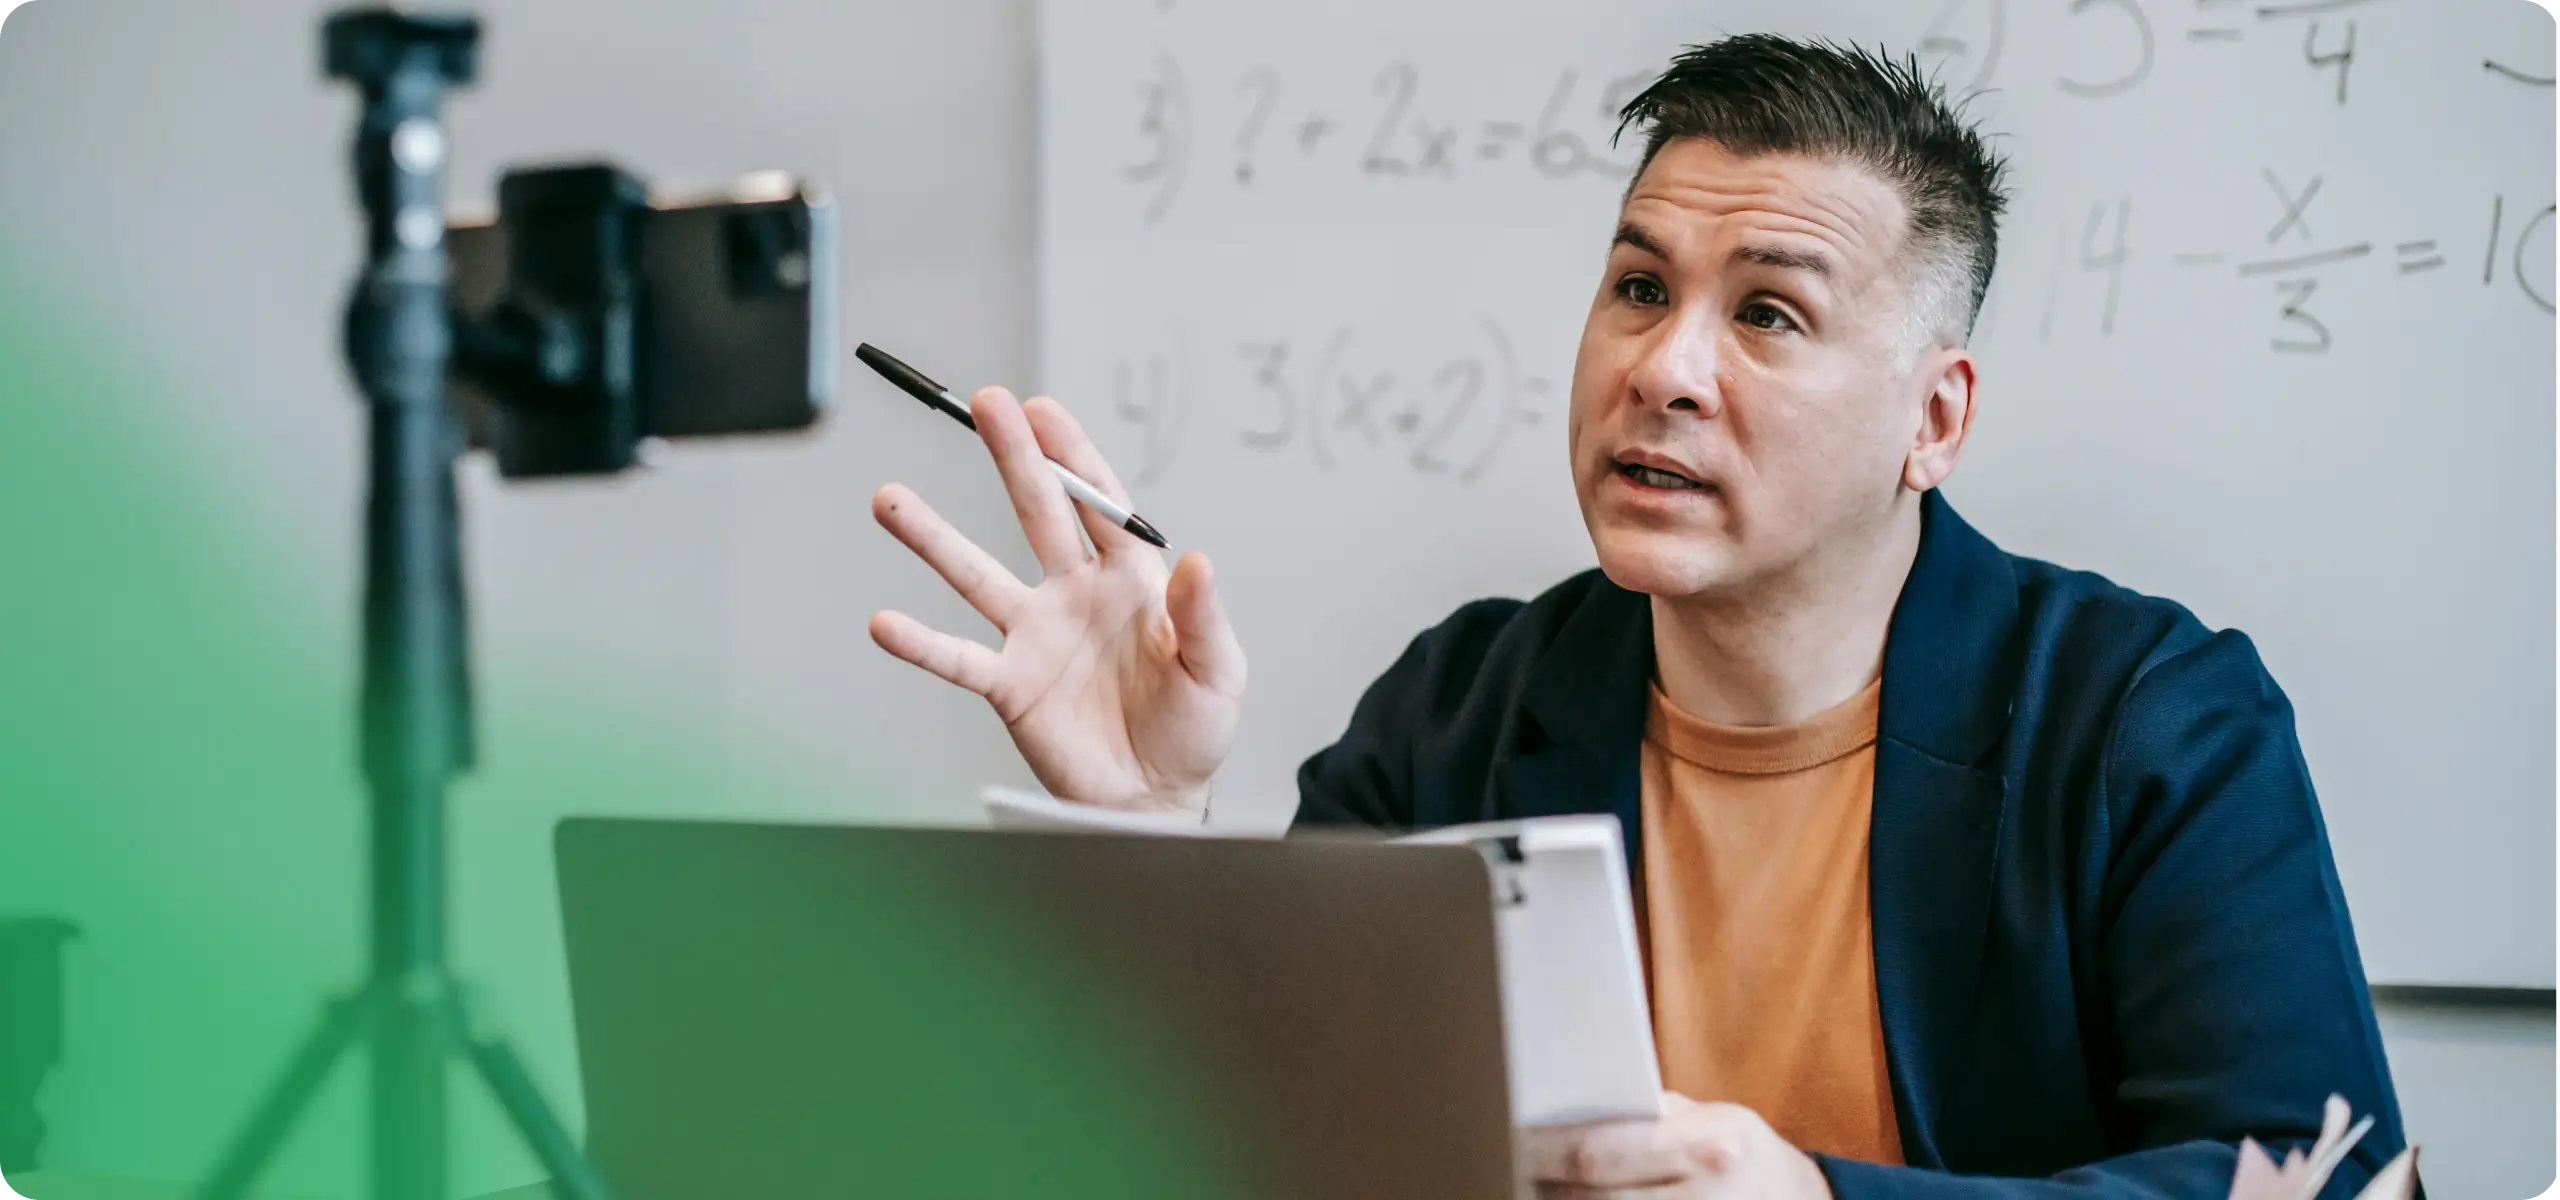
3. Optimize audio and video quality for your recording
Your recording environment will determine any extra equipment or devices you may need to maximize the audio and video in your lecture recording. Choose a quiet, well-lit room or office, and position your webcam so that it records your head and shoulders and sits about eye level.
In a quiet, well-lit environment, you should get good enough audio and video from the native microphone and camera in your laptop. Some things to watch out for when recording lecture videos outside the classroom:
- Backlighting: If there is a lot of light behind you, or you sit in front of a window, you run the risk of looking like a shadow in a webcam video.
- Low lighting: Webcams have small sensors and tend to make video look choppy and grainy in low light.
- Loud fans and other background noise: Air conditioners, machines that hum, computers with loud fans, and even voices from outside the room can compromise the audio in your lecture video.
- Visible clutter behind you: Avoid sitting in front of anything that can be busy or distraction to your viewers. Alternatively, you can turn on virtual background blur and replacement when you record with Panopto. This will ensure learners focus on the content in your presentation.
Additional Recording Equipment For Optimizing Video Quality
In the event that lighting and background noises are a concern, there are affordable, simple solutions that will improve the quality of your lecture recording.
- External Microphones: Quality audio is of utmost importance when recording a lecture — if students can’t hear or understand you, they won’t be able to watch the video. To improve audio, you can add a microphone that plugs into your USB port, such as the Blue Snowball USB microphone, the Blue Yeti USB microphone, or the CAD U37 USB condenser microphone.
- Additional Lighting: Making eye contact in your video is necessary to maximize engagement with students. Make sure that your face is visible and lit with soft light from the front.
Lecture Recording on Mobile Devices and Apps
You can also record lectures outside of a classroom with a tablet or smartphone, though these devices are typically more suited for field recordings or showing multiple viewpoints in a demonstration. Follow all of the above setup tips if you are recording with a mobile device and app, but also keep in mind the following:
- Most mobile device cameras have stabilizing technology, but you should consider using a small tripod or stand if you are recording yourself — it will create a better viewing experience for your students and free up your hands as your present.
- If the sound coming from your phone or tablet’s built-in microphone sounds garbled or isn’t loud enough, you can add a clip-on mic that plugs into a standard audio jack, such as the Rode smart-lav mic.
- Maximize the light in the space where you are recording and avoid backlight. Video quality tends to degrade quickly in low light or when there is a backlight since cameras on mobile devices have small sensors.
4. Record a test video to check the quality of your audio and video
Once you have your lecture materials and recording setup ready to go, record a test video. In this video you can not only practice your presentation, but also check to make sure you are happy with the sound, lighting, and overall video quality.
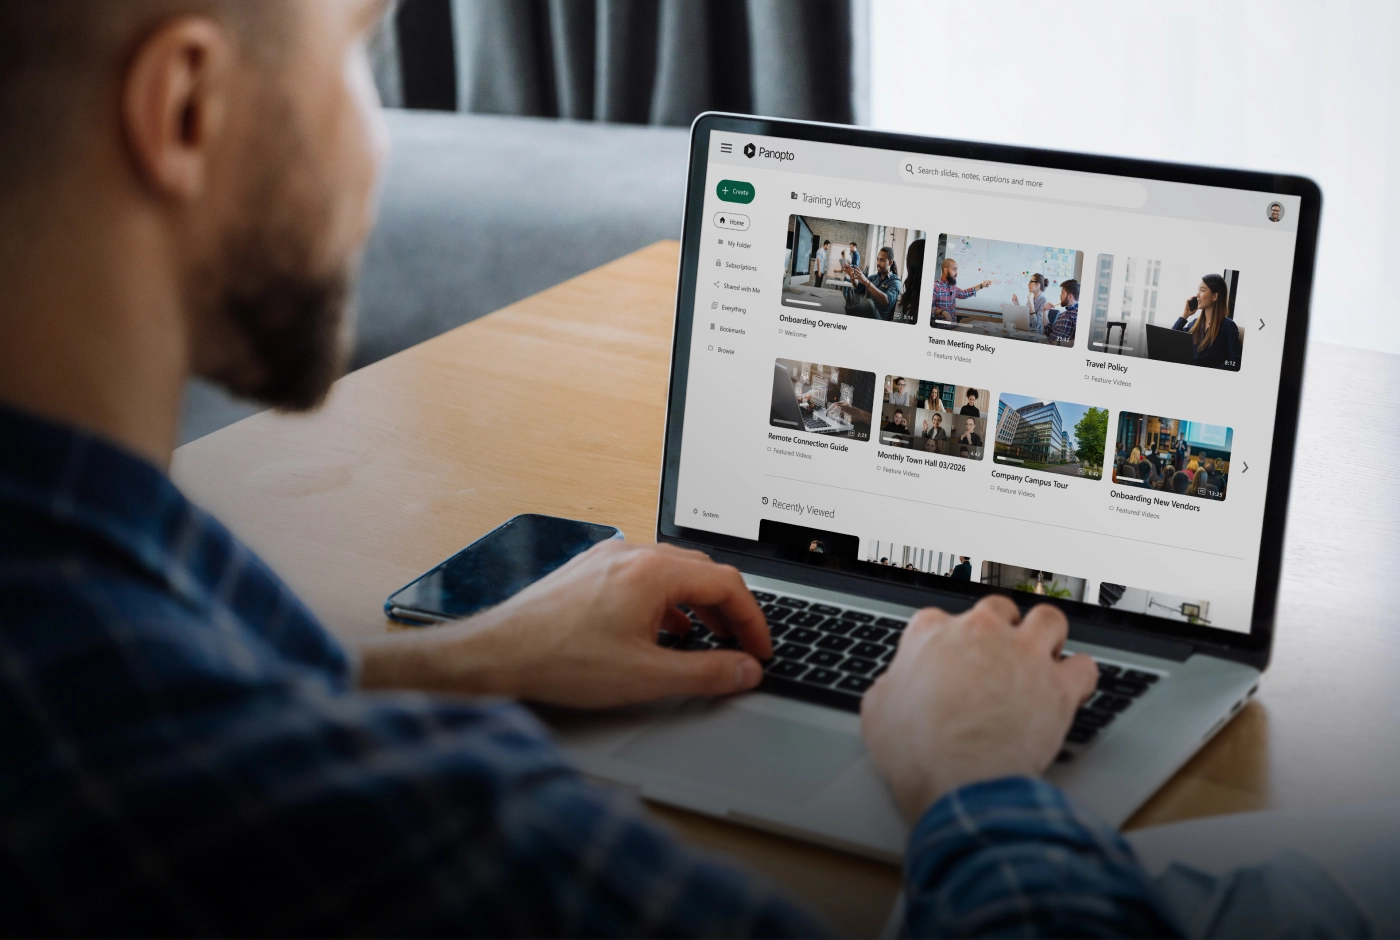
Watch a lecture video recorded using Panopto:
5. Record and edit with your lecture capture software or app
Load your slides into your lecture capture software, press record and begin your presentation.
Record all the way through without pressing stop in your lecture capture tool until the very end. If you make a mistake, simply stop presenting for a few seconds to leave a silent pause in the recording. This will make it easy to edit out the section you don’t want later. Once you’ve captured your initial recording, you can begin to edit out the sections you don’t want in your video.
When you are satisfied with your recording, click upload. Your lecture capture software will process, optimize, and upload your recording to your video library.
6. Share your lecture video to your LMS
As it’s uploading, Panopto automatically transcribes every word spoken in your video and uses AI to make everything inside your videos searchable. You can also request 508-compliant captioning right inside Panopto to add human-edited captions to videos. After your lecture capture recording has processed, you can share the link with students or add the video to your learning management system (LMS). And if your lecture capture software includes video analytics, you can even evaluate the effectiveness of your recordings. For example, if you notice that students are dropping off at a certain point, you can re-edit your original video in your lecture capture software to improve the learning experience.
How Panopto Simplifies Recording Lessons and Classes
Panopto provides all-in-one lecture capture software that makes it easy for educators to record lessons, record classes, and record lectures effortlessly. With Panopto, you can:
✔ Record and live-stream lessons from any device
✔ Automatically transcribe and generate captions for accessibility
✔ Easily edit and organize recordings in a secure library
✔ Integrate with learning management systems like Moodle, Blackboard, and Canvas
Educators worldwide use Panopto to record classes and deliver engaging lessons that enhance student learning.
Schedule a demo to see how Panopto can transform your classroom.
